Download the Zulu Windows .MSI package for Java 11 from our downloads page to your desktop. Make sure your selection matches these settings:
Java version: Java 11 (LTS)
Operating System: Windows
Architecture: x86 64-bit
Java Package: JDK
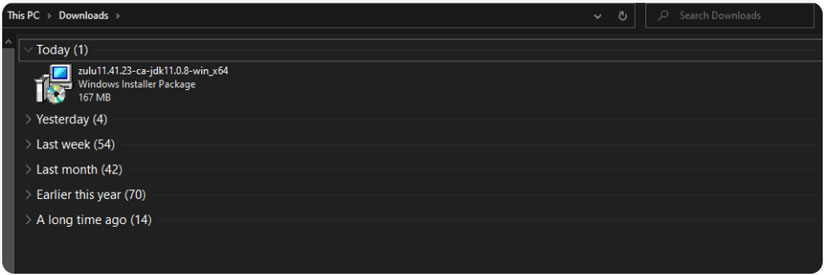
Locate then double click the .msi file. This will download the package to your computer.
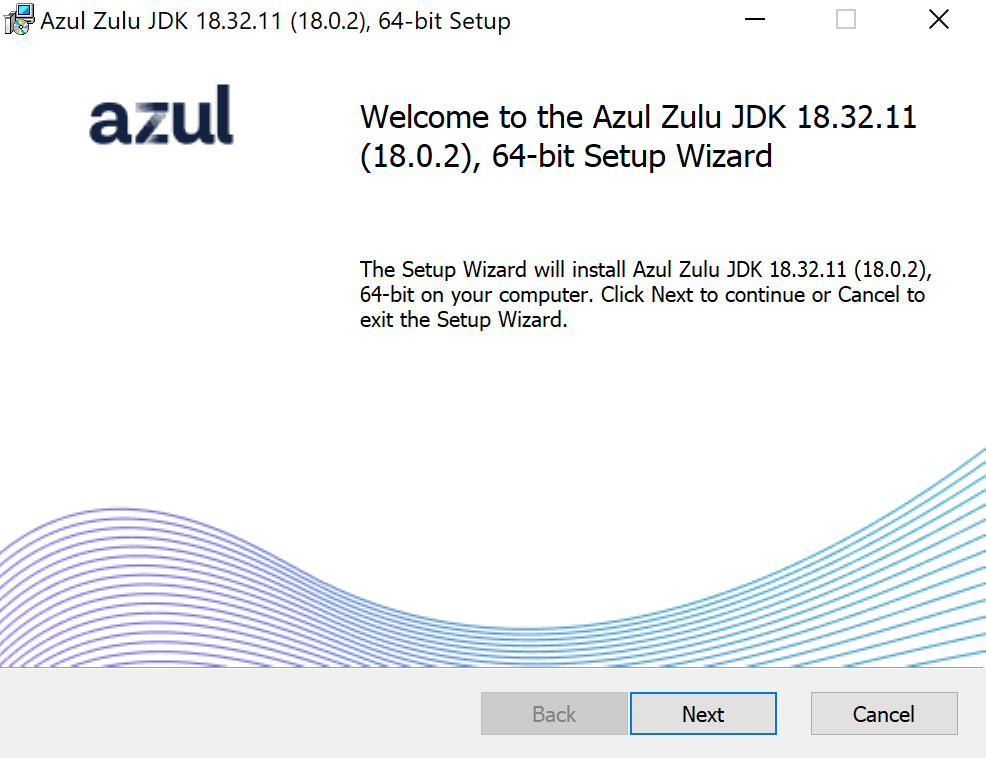
Find the package file on your computer and open it. Once the Windows Setup Wizard launches, click Next on the Welcome panel and Next on the Destination Folder panel.
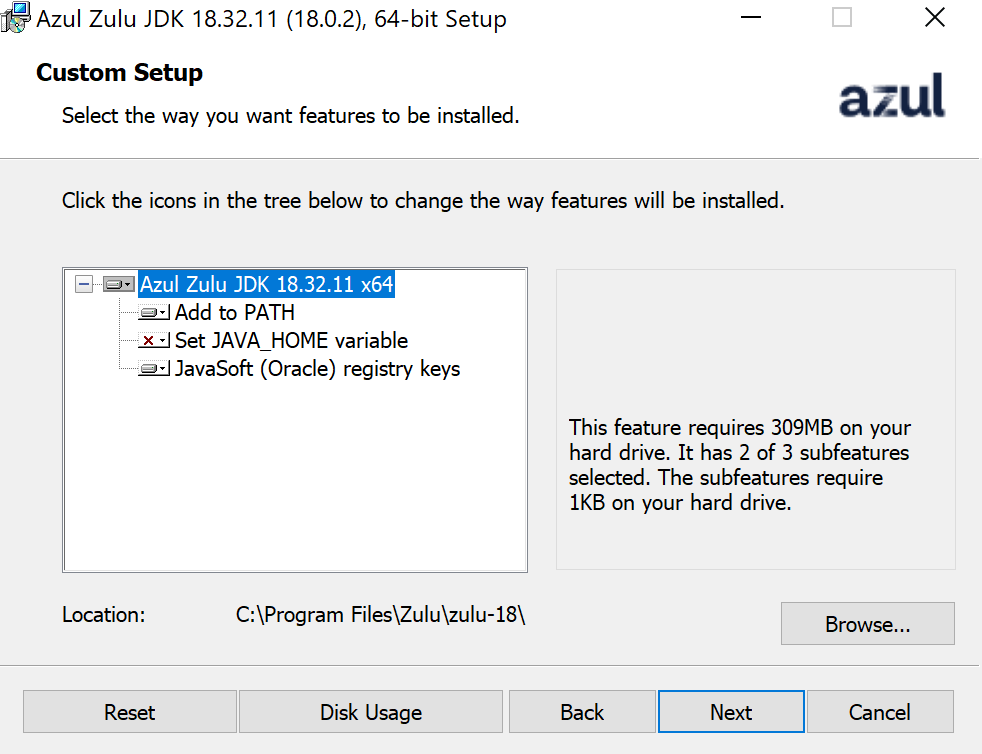
The user must choose “Set JAVA_HOME variable” option to avoid manually setup JAVA_HOME System Variable after installation is done.
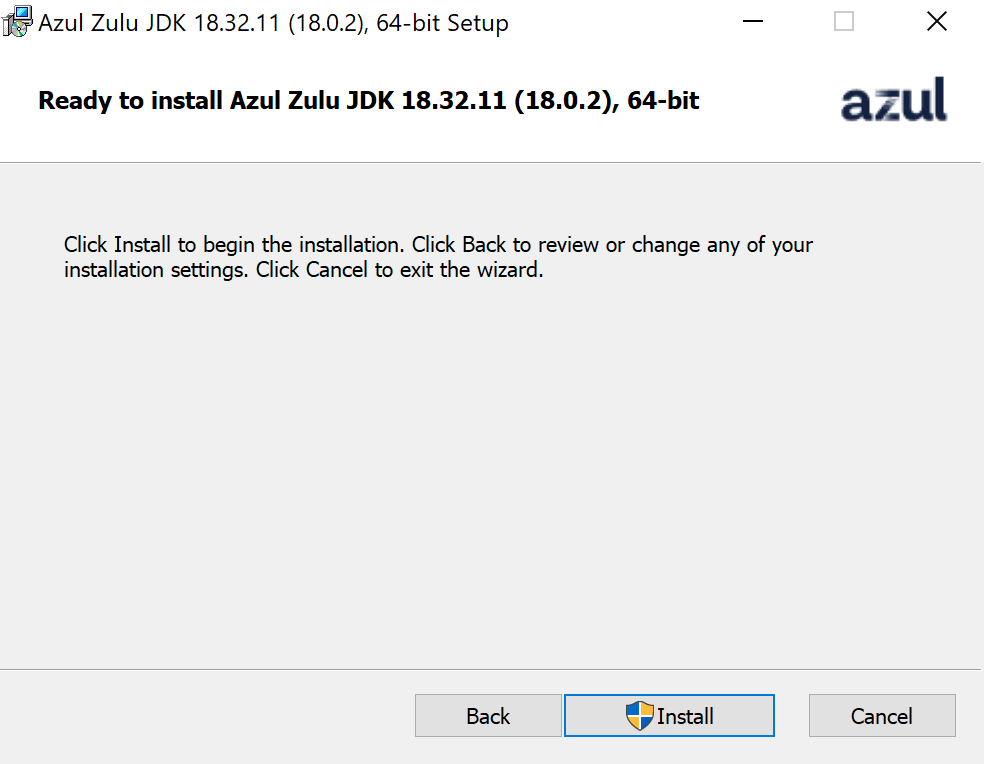
Click Install on the Ready To Install panel.
Click Yes to allow this app to make changes to your device.
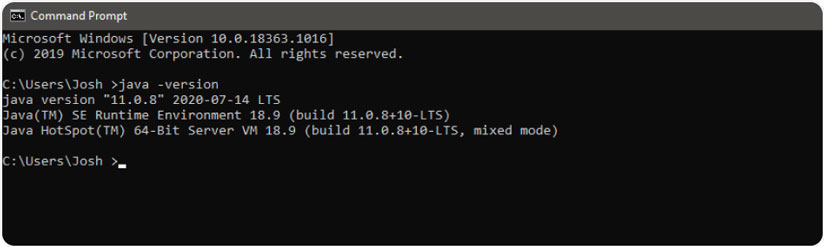
To verify installation: Open Command Prompt
Note : On older versions of Windows, this is PowerShell
In the Command Prompt, type java -version You should see the following or similar:
openjdk version “11.0.8″
OpenJDK Runtime Environment (Zulu 11.41+23-CA) (build 11.0.8+10-LTS)
OpenJDK 64-Bit Server (Zulu 11.41+23-CA)
(build 11.0.8+10-LTS, mixed mode)
If you see text like the above, your installation was successful.
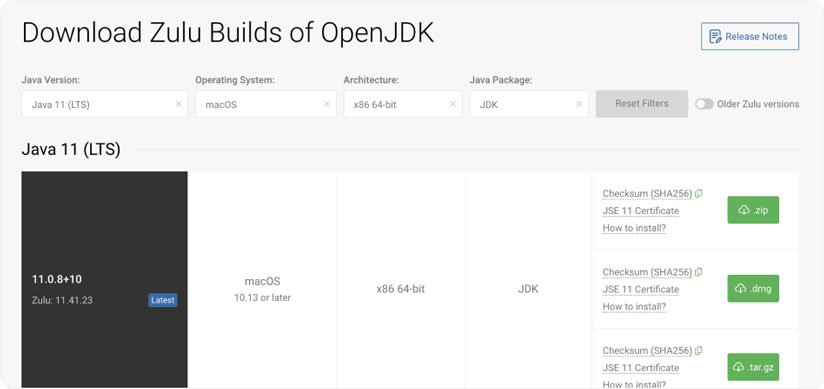
Download the Zulu macOS .dmg package for Java 11 from our downloads page to your desktop. Make sure your selection matches these settings:
Java version: Java 11 (LTS)
Operating System: macOS
Architecture: x86 64-bit
Java Package: JDK
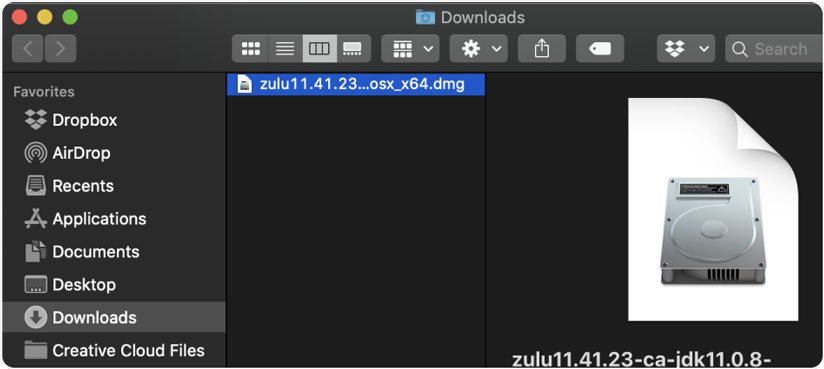
Locate then double click the .dmg file. Double click the box image. The Setup Wizard will launch.
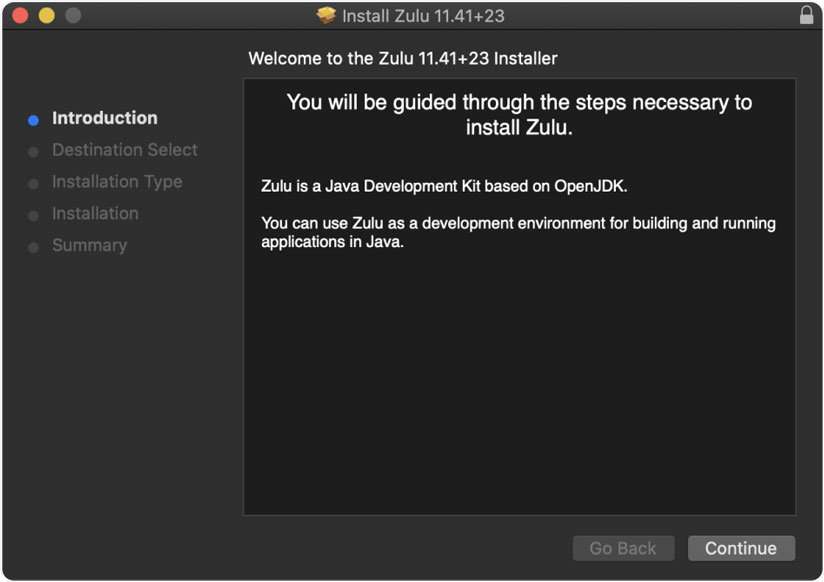
Click Continue on the Welcome panel.
Click Install on the Installation Type panel.
Enter your password and click Install Software on the permissions popup.
Click Close.
To verify installation on macOS: Open a Terminal, type java -version You should see the following or similar:
openjdk version “11.0.8″
OpenJDK Runtime Environment (Zulu 11.41+23-CA) (build 11.0.8+10-LTS)
OpenJDK 64-Bit Server VM (Zulu 11.41+23-CA) (build 11.0.8+10-LTS, mixed mode)
If you see text like the above, your installation was successful.